%IMG7%magick hald:4 eh_h4.png

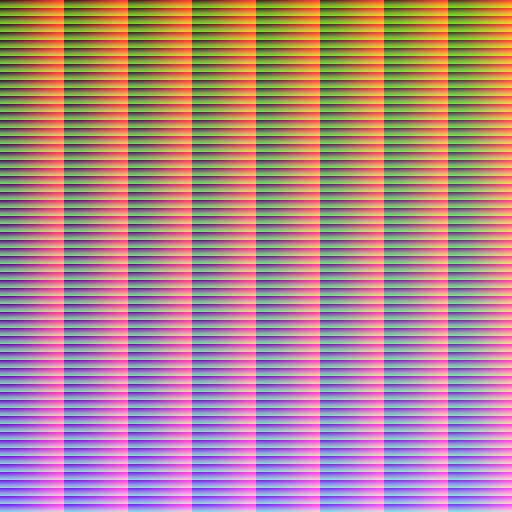
%IMG7%magick hald:8 eh_h8.png
A brief introduction.
We show how hald cluts can be manipulated and used.
A hald clut is a Colour Look-Up Table with three dimensions, a cube, but stored by IM as a square image. The table is indexed by an RGB triplet, and each entry in the table is also an RGB triplet, so the colours in an image can be transformed by a hald clut.
The name "Hald" comes from Eskil Steenberg's grandmother's maiden name. See IM forum: Meaning of the name 'Hald'?.
IM's "-hald-clut" operation takes two images: an ordinary input image, and a hald clut. It creates a new image the same size as the input image. For every input image pixel, the RGB values of that pixel are used as coordinates into the cube, and the RGB values found at that location in the cube are used for the new image. Ideally the cube would have 2Q pixels along each dimension, but it usually has fewer, so the coordinates will fall between entries, and IM interpolates.
The "-hald-clut" operation is many-to-one. Each input colour maps to only one output colour, but many input colours may map to the same output colour.
An ordinary clut (aka 1D clut) transforms channels independently. For example, a pixel that has 10% in the red channel transformed by a particular clut will result in a particular output red value, whatever the input values of the other channels. A 3D clut is a more generalised version; a 10% red value may transform into any number of red values, depending on the values in the other channels. Any 1D clut can be represented by a 3D clut.
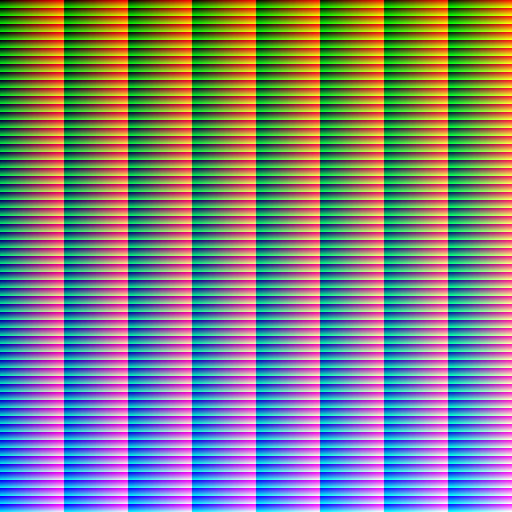
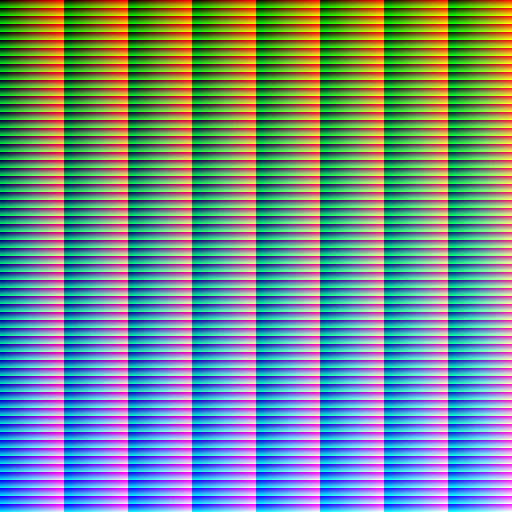
A 3D hald clut is represented in IM by a 2D image. The pseudo-format "hald:N" creates an image that represents an identity (aka unity) hald clut, where each entry is equal to the indexing coordinates. Applying the identity hald clut to an image results in no changes to the image.
%IMG7%magick hald:4 eh_h4.png |
|
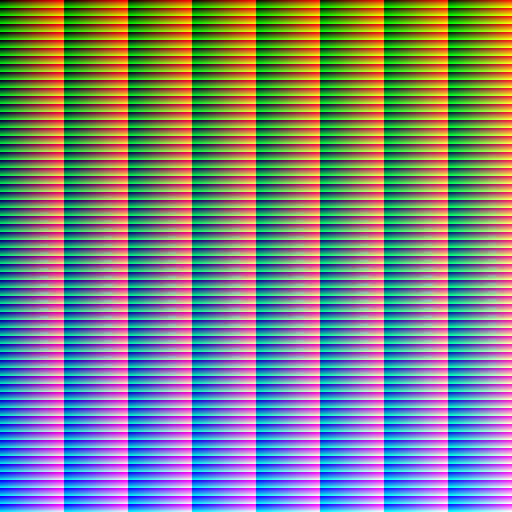
%IMG7%magick hald:8 eh_h8.png |
|
The "filename" gives the level, for example "hald:8" has level=8. The minimum level is 2.
The image is square, with rows=columns=level3, eg 83=512. Hence the hald-clut has level6 pixels. It contains level2 values per channel, so hald:8 contains 64 values per channel. It is a cube with 64 pixels in each dimension. If we want 256 values per channel, so the hald contains all possible 8-bit colours, we need hald:16.
The 3D coordinates of the cube (r,g,b) and the 2D coordinates of the square (x,y) map to each other:
0 <= r, g, b < level2
0 <= x,y < level3

r = x % level2
g = x / level2 + (y % level) * level
b = y / level

x = r % level2 + (g % level) * level2
y = b * level + g / level
(Many graphics programs have the equivalent of hald cluts, but the mapping between 2D and 3D is often different. IM's hald clut image is difficult for humans to interpret. As it is constrained to be a square, not all cube sizes can be represented. A scheme that showed the slices of the cube side by side might be more helpful. A cube sized 643 would be represented by a 2D image 4096x64 instead of 512x512.)
In coders/hald.c, the identity hald-clut is populated like this:
cube_size=level*level;

for y = 0 to rows-1 {
  blue = y / level;
  x = 0;
  for green = 0 to cube_size-1 {
    for red = 0 to cube_size-1 {
      SetPixelRed (x, y, QuantumRange * red / (cube_size-1));
      SetPixelGreen (x, y, QuantumRange * green / (cube_size-1));
      SetPixelBlue (x, y, QuantumRange * blue / (cube_size-1));
      x++;
      if (x==columns) {
        x = 0;
        y++;
      }
    }
  }
}
Integer division is used throughout. The unmodified hald clut contains only integer values, in the range zero to QuantumRange.
In the identity hald clut:
IM's "-hald-clut" operation assumes the clut is absolute, that the entry at each RGB coordinates gives the colour required. An alternative is the relative clut, where the entry (which can be positive or negative) needs to be added to the RGB coordinates to calculate the colour required. Put it another way, the entry needs to be added to the absolute identity clut.
We can easily convert between the two forms:
relative_clut + absolute_identity_clut = absolute_clut
The absolute identity clut is colourful, as shown above. The relative identity clut is completely zero. Relative cluts can be negative, so should be processed and saved as HDRI. We can easily create a relative identity clut:
%IMG7%magick -size 512x512 xc:Black eh_relid.miff
We apply the sparse values to the relative clut, not the absolute clut. Why? Suppose we have a known sample at coordinate 60%, with a value of 80%. Interpolating values at other coordinates (such as 50% and 70%) from this sample, we don't want them to be influenced towards 80%. Instead, we want them to be influenced towards values that are 20% above their respective coordinates.
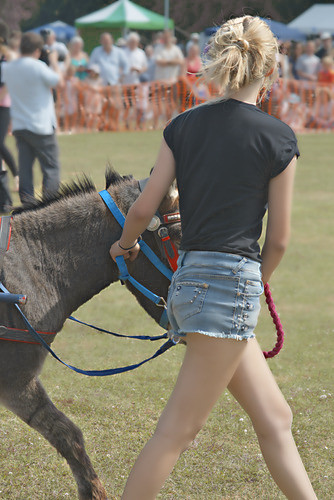
We append a hald to an image, edit the combined image, then extract the hald, and use it to modify any images in the same way.
%IMG7%magick ^ %SRC% ^ hald:8 ^ -gravity South ^ -append +repage ^ eh_s1.png |

|
Using Gimp or Photoshop or any image editor, open the file eh_s1.png and change the colours. Save the result and a lossless format such as PNG.
In Gimp, we use Colors | Hue-Saturation to change the hue, lightness and saturation of "green", with a fairly large overlap.
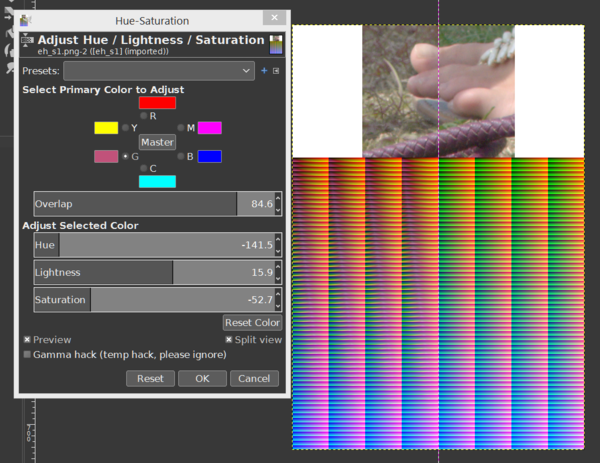
In Gimp, we export the image as eh_s1_ed.png.
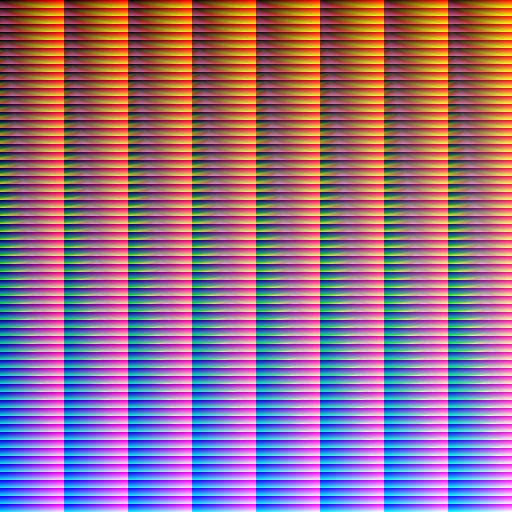
%IMG7%magick ^ eh_s1_ed.png ^ -gravity South ^ -crop 512x512+0+0 +repage ^ eh_s1e.png |
|
We can apply the same hald to any image we want.
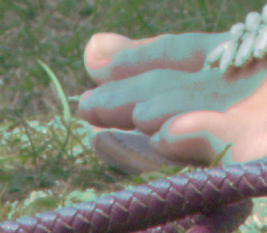
%IMG7%magick ^ toes.png ^ eh_s1e.png ^ -hald-clut ^ eh_toes_h.png |

|
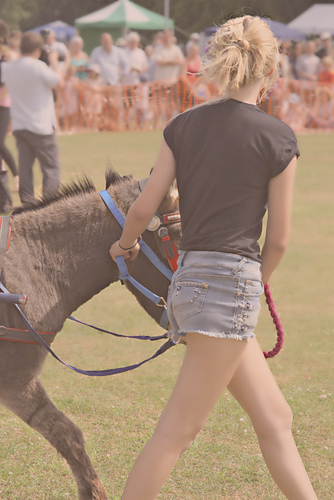
%IMG7%magick ^ zp_sus_sat.jpg ^ eh_s1e.png ^ -hald-clut ^ eh_zss_h.png |
|
If we have a complex transformation comprising many passes over the image, and we need to apply this to many images, it will be faster to apply it once to a clut, then apply that clut to each image.
%IMG7%magick ^ hald:8 ^ -colorspace Lab ^ -channel R -sigmoidal-contrast 2,50% ^ -channel GB -sigmoidal-contrast 1.2,50% ^ +channel ^ -colorspace sRGB ^ -auto-level ^ eh_nie.png |
|
%IMG7%magick ^ toes.png ^ eh_nie.png ^ -hald-clut ^ eh_toes2_h.png |
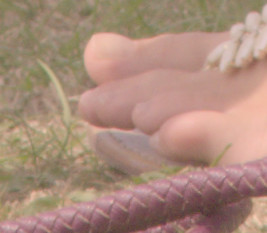
|
%IMG7%magick ^ zp_sus_sat.jpg ^ eh_nie.png ^ -hald-clut ^ eh_zss2_h.png |
|
We can make a hald from a small number of samples. For example, we change #b09090 to #90b0b0, while pinning the eight corners of the colour cube so they are not changed.
%IM7DEV%magick ^
  ( xc:#b09090 xc:Black xc:White ^
    xc:Red xc:Lime xc:Blue ^
    xc:Cyan xc:Magenta xc:Yellow ^
    +append +repage ) ^
  ( xc:#90b0b0 xc:Black xc:White ^
    xc:Red xc:Lime xc:Blue ^
    xc:Cyan xc:Magenta xc:Yellow ^
    +append +repage ) ^
  -define compose:clamp=off ^
  ( -clone 0-1 ^
    -compose MinusDst -composite ^
  ) ^
  -delete 1 ^
  -append +repage ^
  -process 'sphaldcl haldlevel 8 method shepards power 5 v' ^
  eh_sp1.png
|
|
%IMG7%magick ^ toes.png ^ eh_sp1.png ^ -hald-clut ^ eh_toes3_h.png |
|
%IMG7%magick ^ zp_sus_sat.jpg ^ eh_sp1.png ^ -hald-clut ^ eh_zss3_h.png |
|
As previous, but also pinning colours close to the skin colour.
%IM7DEV%magick ^
  ( xc:#b09090 xc:Black xc:White ^
    xc:Red xc:Lime xc:Blue ^
    xc:Cyan xc:Magenta xc:Yellow ^
    xc:#808080 xc:#8080a0 xc:#80a080 xc:#80a0a0 ^
    xc:#e08080 xc:#e080a0 xc:#e0a080 xc:#e0a0a0 ^
    +append +repage ) ^
  ( xc:#90b0b0 xc:Black xc:White ^
    xc:Red xc:Lime xc:Blue ^
    xc:Cyan xc:Magenta xc:Yellow ^
    xc:#808080 xc:#8080a0 xc:#80a080 xc:#80a0a0 ^
    xc:#e08080 xc:#e080a0 xc:#e0a080 xc:#e0a0a0 ^
    +append +repage ) ^
  -define compose:clamp=off ^
  ( -clone 0-1 ^
    -compose MinusDst -composite ^
  ) ^
  -delete 1 ^
  -append +repage ^
  -process 'sphaldcl haldlevel 8 method shepards power 5 v' ^
  eh_sp2.png
|
|
%IMG7%magick ^ toes.png ^ eh_sp2.png ^ -hald-clut ^ eh_toes4_h.png |
|
%IMG7%magick ^ zp_sus_sat.jpg ^ eh_sp2.png ^ -hald-clut ^ eh_zss4_h.png |
|
For more details of this method, see Sparse hald cluts.
Where "⊗" represents applying an absolute clut to an image, usually with IM's "-hald-clut" operation.
absolute_clut = relative_clut + absolute_identity_clut

relative_clut = absolute_clut - absolute_identity_clut

image ⊗ absolute_identity_clut = image

(image ⊗ clut1) ⊗ clut2 = (image ⊗ clut2) ⊗ clut1

(image ⊗ clut1) ⊗ clut2 = image ⊗ (clut1 ⊗ clut2)
For tweaking of ranges of colours, we could use a process that adjusted a 3D clut, at given centre and radius or SD (or three of each), with distributions: box, triangle, or Gaussian.
Ordinary (1D) cluts, when cumulative and normalised, are essentially the same as 1D histograms. They can be inverted and applied to each other, and used to adjust one image so its 1D histograms match those of another. I suspect 3D cluts and histograms have analogous properties.
3D cumulative histograms can probably be created in the same way as 2D integral images.
All images on this page were created by the commands shown, using:
%IMG7%magick -version
Version: ImageMagick 7.1.0-42 Q16-HDRI x64 396d87c:20220709 https://imagemagick.org
Copyright: (C) 1999 ImageMagick Studio LLC
License: https://imagemagick.org/script/license.php
Features: Cipher DPC HDRI OpenCL
Delegates (built-in): bzlib cairo freetype gslib heic jng jp2 jpeg jxl lcms lqr lzma openexr pangocairo png ps raqm raw rsvg tiff webp xml zip zlib
Compiler: Visual Studio 2022 (193231332)
%IM7DEV%magick -version
Version: ImageMagick 7.1.0-20 Q32-HDRI x86_64 2021-12-29 https://imagemagick.org
Copyright: (C) 1999-2021 ImageMagick Studio LLC
License: https://imagemagick.org/script/license.php
Features: Cipher DPC HDRI Modules OpenMP(4.5)
Delegates (built-in): bzlib cairo fontconfig fpx freetype jbig jng jpeg lcms ltdl lzma pangocairo png raqm rsvg tiff webp wmf x xml zip zlib
Compiler: gcc (11.2)
To improve internet download speeds, some images may have been automatically converted (by ImageMagick, of course) from PNG or TIFF or MIFF to JPG.
Source file for this web page is edithald.h1. To re-create this web page, execute "procH1 edithald".
This page, including the images, is my copyright. Anyone is permitted to use or adapt any of the code, scripts or images for any purpose, including commercial use.
Anyone is permitted to re-publish this page, but only for non-commercial use.
Anyone is permitted to link to this page, including for commercial use.
Page version v1.0 3-August-2017.
Page created 27-Aug-2022 18:27:10.
Copyright © 2022 Alan Gibson.